Download and install the Navisworks™ Plugin here.
Navisworks™ Plugin Guide
Panoptica’s Navisworks™ Plugin converts 3D models to a custom file type, Eutocius (abbreviated to .eut), that is used for Panoptica model reviews. Uploading .eut files directly into your model review is roughly an order of magnitude faster than converting 3d files through the Portal. This allows the user to set up model reviews and allows for a performant HoloLens experience. Click here to download the Navisworks™ Plugin.

Getting Started

Getting Started
Getting Started
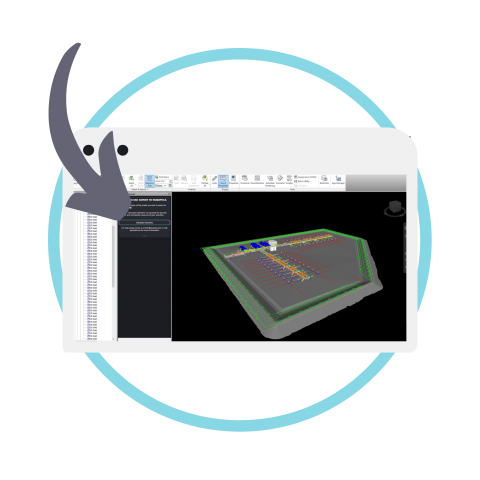
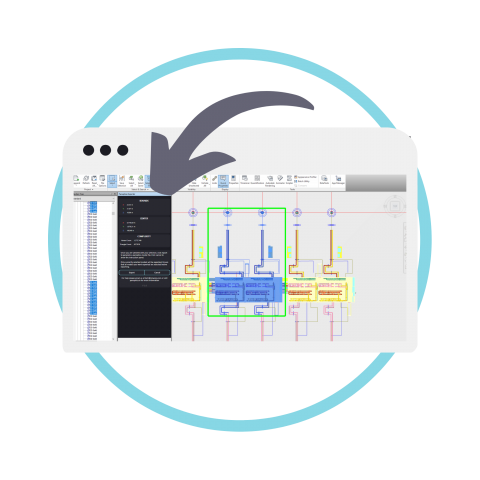
Open Navisworks™ and load the desired model. Select the PANOPTICA tab on the upper right of the screen.

Getting Started
Additionally, the HELP button brings up the Panoptica website, where more information and contacts can be found.

Workflows

Workflows
There are generally two export workflows. This guide uses and recommends workflow 1 for easy management of HoloLens performance.
Note: the Orthographic view mode can make it easier to select sections of your model.

Workflow 1 - Recommended
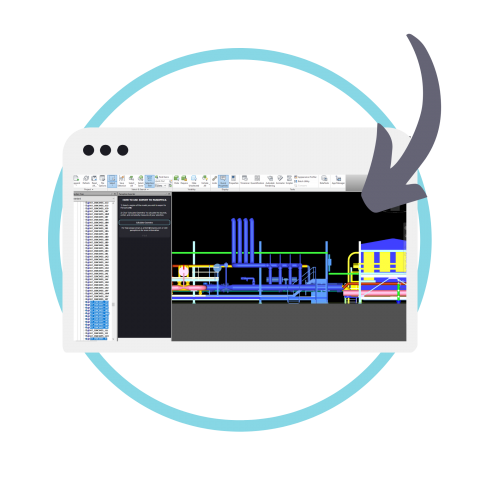
Hide parts of the scene first, so that making your export selection is easier. The scene can then be saved as a separate file for easy management, or use the Selections Sets feature to help manage your selections.

Workflow 2
Immediately select desired parts of the scene and then export. This may be hard to manage if the scene is complex, and if different objects need to be hidden.

Sectioning a Model
Sectioning a Model
Breaking up a model into pieces called sections can make your model review easier to manage, and for untethered mixed reality devices, performance will generally be better.
This guide is written in the context of optimizing for HoloLens usage.
Take stock of how complex the overall model is
Ideally aim for around 1 million vertices in each scene. Performance may start to suffer when the vertex count exceeds 1 million.
Plan what should be reviewed and how to structure your scenes
Think of a focal point for each scene, typically something that should be reviewed in your model review (a specific room, or a specific object in the room). If the vertex count is low enough, some scenes may contain multiple items that should be reviewed in your model review.

Save a separate nwd file
When you are ready to start sectioning your first scene, save a separate .nwd file for the scene (keep the original!)
This will make it easier to manage your scenes, especially if extra items should be hidden after testing a scene for performance.
Note: Selection Sets can be used to manage showing/hiding parts of the model as well.
Hide irrelevant pieces from the scene you are creating
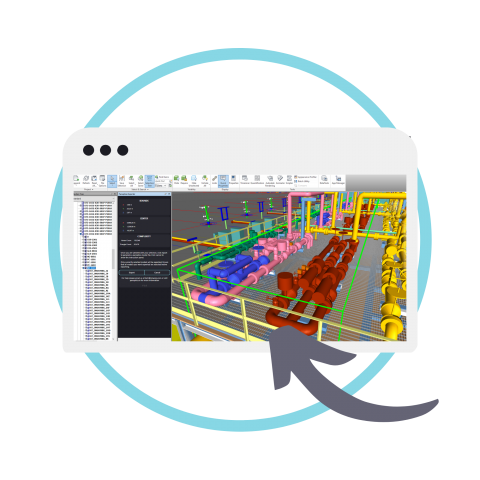
Small, vertex-heavy objects are good to hide if you are looking to squeeze out more performance. Especially if they are not critical to be present in the model review (or for that specific scene).
Grids and vents are usually complex, and are good to remove if they are not critical to the model review. Remember to look at small pieces of the model that might contribute to a high vertex count.
Use the plugin to spot-analyze parts of your scene for vertex complexity.

Save your scene
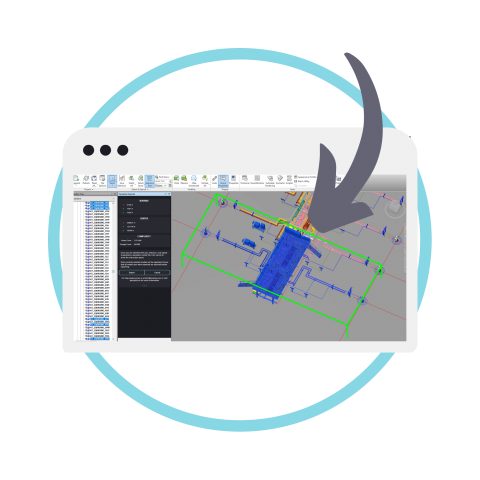
Once satisfied, save your scene, select all visible objects, click CALCULATE, and then click EXPORT to save your .eut file.

Test Performance
After saving, test the performance of your scene.
Upload your .eut file to a model review on the Panoptica Review Portal, place a spawn point in your scene, and then join the model review with your HoloLens and Companion to see how it performs.

Test Performance
If your scene is laggy and not performant, more objects may need to be hidden in your scene to decrease the vertex count. A good rule of thumb is to aim for no more than 1 million vertices per scene. Performance will noticeably decrease past this point on HoloLens 1s and 2s.

Repeat
Repeat these steps for all other scenes desired.
FOR MORE INFORMATION
Download a PDF copy of the information above. Our guides are tailored to your specific demo needs.