Navigate to your deployed portal URL on a compatible web browser.
Recommended browsers:
- Chrome
- Firefox
- Microsoft Edge
- Safari
- Opera


Navigate to your deployed portal URL on a compatible web browser.
Recommended browsers:

Log in with your email address and password if you have a known Auth0 user account on the specified server.
Note: Use the login method that your company has recommended to you, such as Google G Suite.
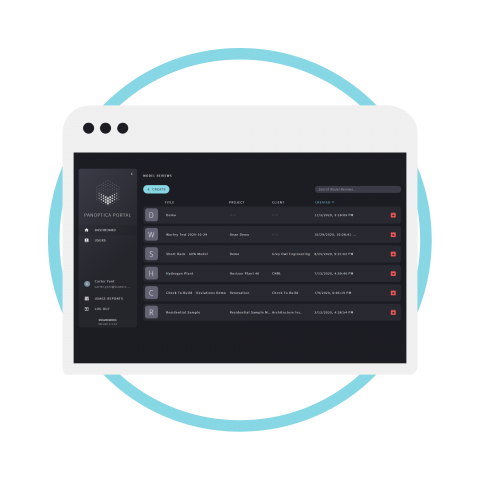
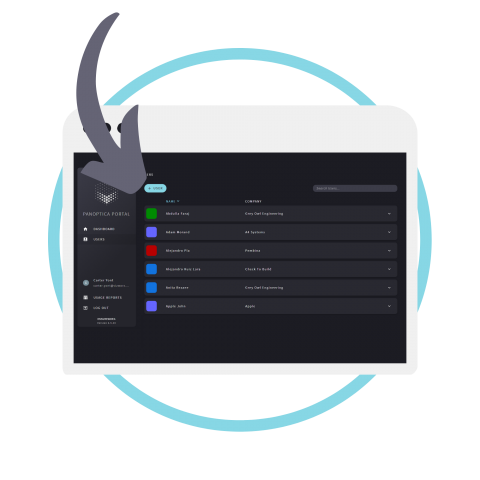
After waiting a moment to be logged in, you will be redirected to the Dashboard. This is where you can create a model review.
Note: Model reviews can be archived by pressing the ARCHIVE button.
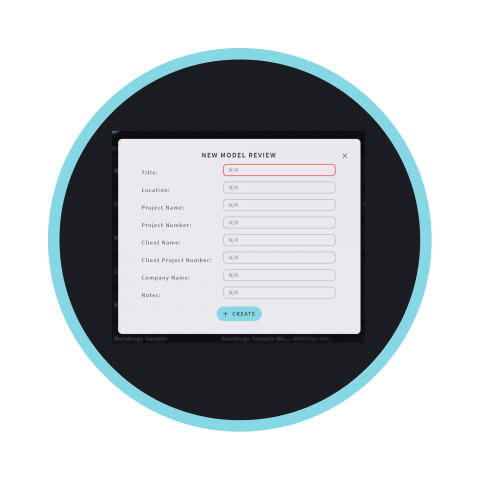
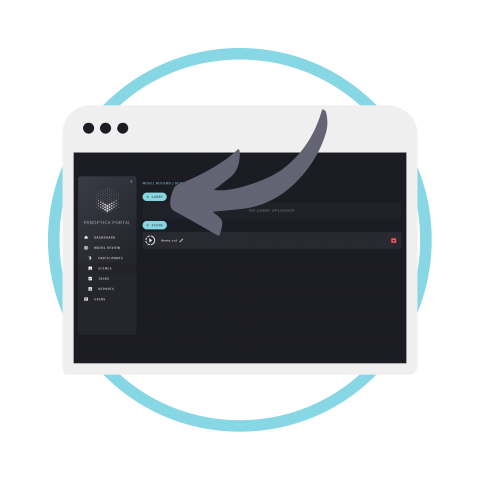
Click + CREATE to create a new model review. A pop-up will appear and you will be prompted to complete all the necessary fields.
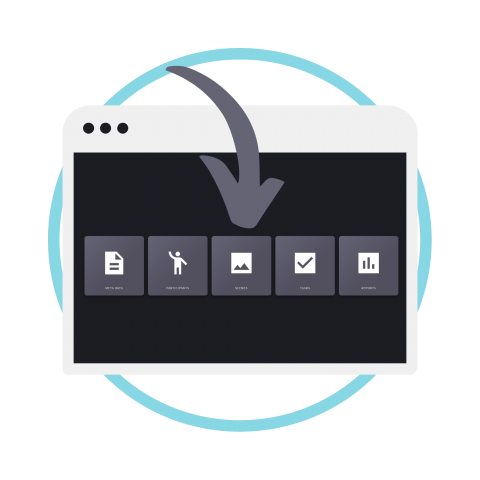
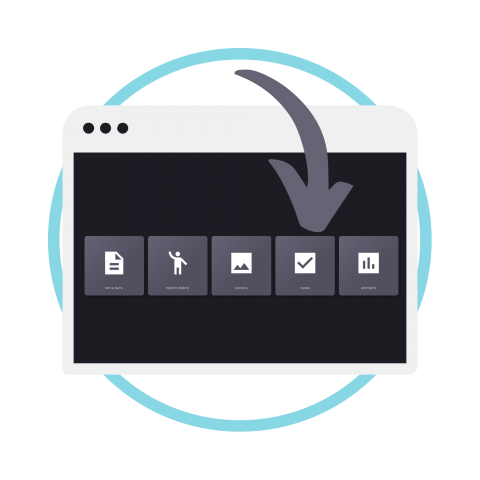
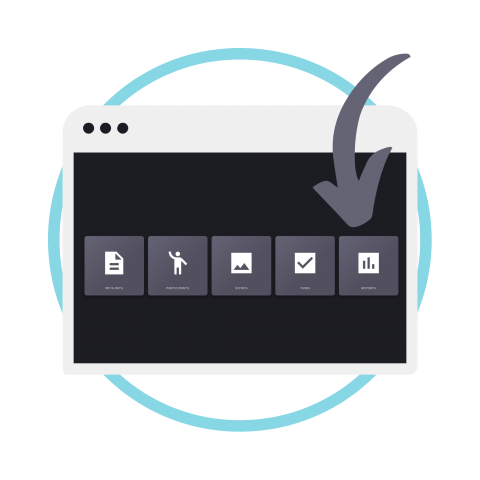
Once you press + CREATE, you will be redirected to the model review’s set-up page.

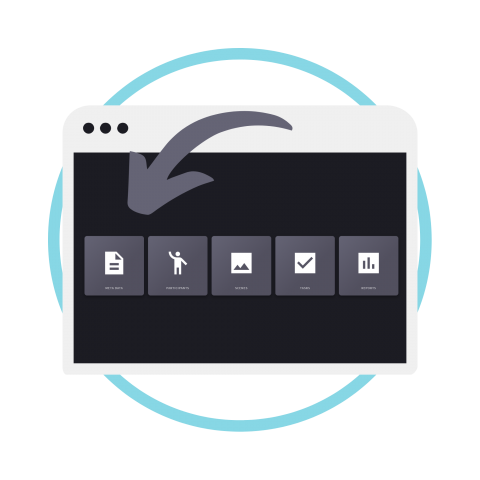
The model review’s details can be changed by selecting the META DATA tile and pressing the EDIT button.
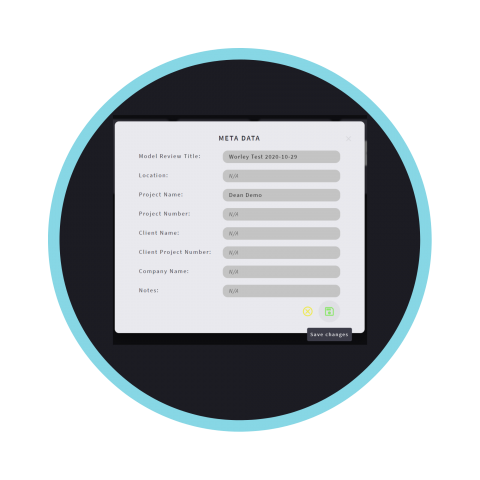
Click the SAVE button to update the fields.


The Users page allows you to manage all users within your organization.
To access the Users page, click the USERS button in the side menu.
To create a user, click the + USER button to display the new user pop-up.
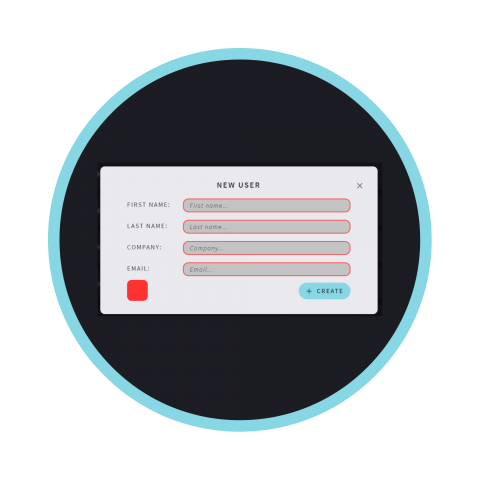
Fill out all the necessary fields outlined in red, and choose the user’s avatar colour by selecting the COLOUR button.
When you are ready, press the + CREATE button to add the new user to the list.

To edit or archive users, click the user’s name to expand the tile and use the EDIT and ARCHIVE buttons.
Once you have created all the users in your organization, you can add them as participants to your model review.
You are required to add users to the model review as participants in order for them to access the model review.
The Participants page contains the participants of your model review. This page only allows you to add or remove participants from your model review.
If you would like to edit or archive a user, you must do this through the Users page.

Each model review is sectioned into smaller segments referred to as scenes. Scenes should be sectioned using the Navisworks plugin, prior to being added to the Portal. See the Panoptica Navisworks Plugin Usage Guide to understand this process.
To access your model review’s scenes, press the SCENES tile.

Panoptica Review uses a special file format for scenes called Eutocius, abbreviated to .eut. Panoptica’s Navisworks Plugin directly converts scene sections into .eut files, which can be quickly uploaded onto the Portal.
Alternatively, if a conversion server is running for your Portal, any Navisworks-compatible 3D model can be uploaded. These files are converted into .eut files by the conversion server.
Note: Uploading .eut files directly (through the plugin) is substantially faster than uploading a model to be converted by the conversion server.
A Lobby is a special scene that is loaded automatically upon joining the model review. This is useful to show a miniaturized version of the entire project featured in the model review for context, but anything (or nothing) can be uploaded as a lobby.
To add a lobby to your model review, press the + LOBBY button, select your lobby file, and press OPEN. The lobby will be ready to set up when the PLAY button appears.
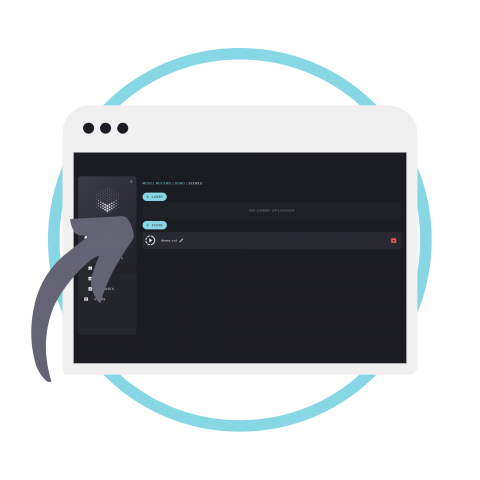
To add a scene to your model review, press the + SCENE button, select your scene file, and press OPEN.
The scene will be ready to set up when the PLAY button appears by the scene name.
You can edit or archive scenes by using the EDIT or ARCHIVE buttons.

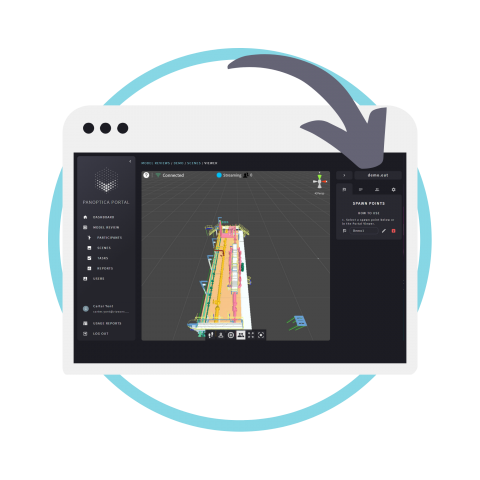
When you are ready to set up your scene, press the PLAY button to take you to the scene’s editor.

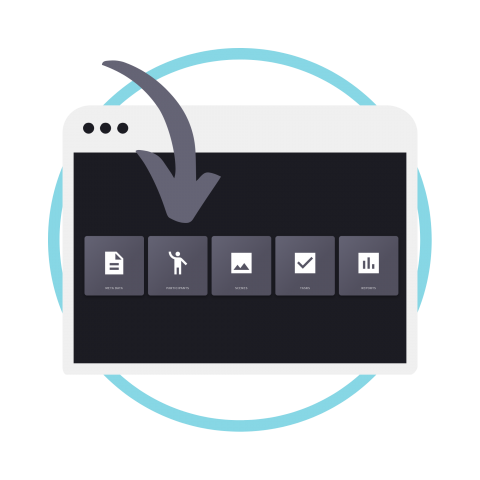
On the right side of the screen there are four tabs:


The G key can be pressed to switch between classic movement and mouse walk movement. Classic Movement is the default mode that uses a combination of mouse and keyboard buttons to move.
The G key can be pressed to switch to mouse walk movement. You should see the footprints icon on your mouse. This movement mode can be used to easily move around the scene by left-clicking and dragging your mouse.
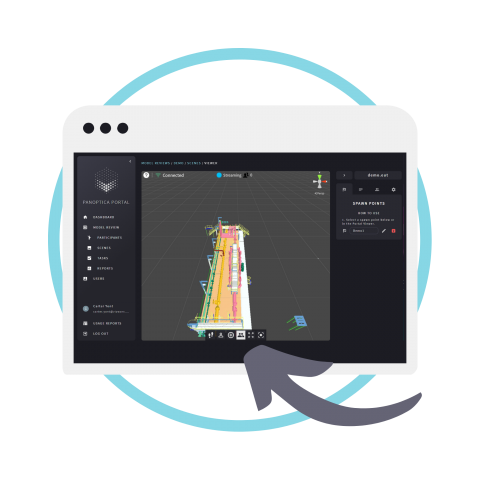
The Scene editor has a toolbar that makes it easier to navigate and set up the scene:


Setting up scenes requires two main steps:
The scene’s rotation and scale ratio can be adjusted, to ensure that the scene will be in 1:1 scale on your streaming device.
On the right side, press the PLAY button to display the scene’s settings. The scene will transform in real time as you adjust the x, y and z rotation and scale ratio. Press the SAVE button to update the changes.

Spawn Points are different locations within a scene that you can instantly move to. Set up spawn points around locations of interest for your model review.

To add a spawn point, click the + button in the scene viewer. A spawn point will appear in the scene viewer and in the Spawn Points tab.
Note: you should try to place spawn points roughly 6 feet in front of the scene.

To move and rotate spawn points, click on the spawn point to display the move (T) or rotate (R) buttons in the toolbar.
To move the spawn point, select the move (T) button, and click and drag the x, y or z axis to translate it.
To rotate the spawn point, select the rotate (R) button, and click and drag the x, y or z rings to rotate it.
You can edit or archive the spawn points using the EDIT and ARCHIVE buttons.
Once you have added all desired spawn points, you can add participants to your model review and create tasks.
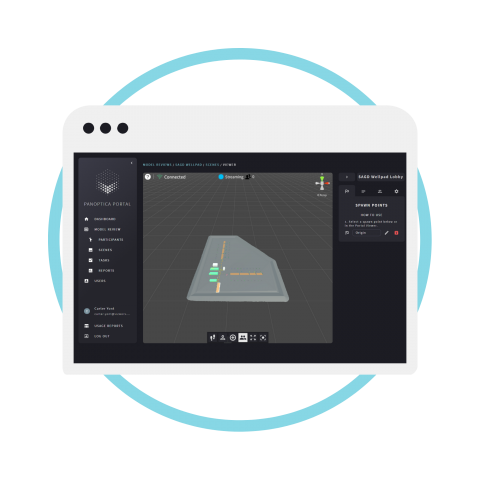
When a Lobby is uploaded, the Portal automatically generates a special type of spawn point, known as an origin point. The origin point cannot be edited or archived, but it can be moved to a desired location.
Participants will see the lobby from the origin point when entering the model review on their streaming device.

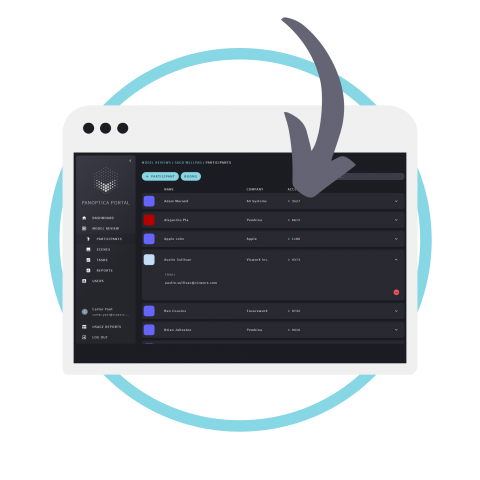
You can add participants to your model review by pressing the PARTICIPANTS tile.
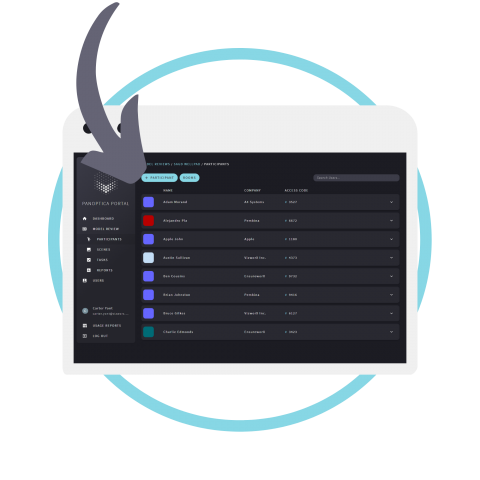
To add a new participant to the model review, click the + PARTICIPANT button to open up a pop-up of all users.
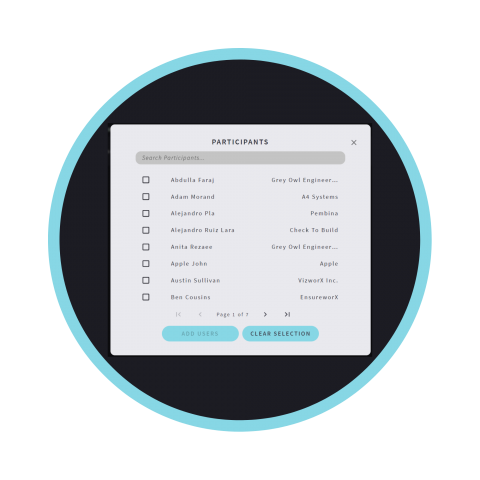
Check off all users you wish to add to the model review as participants. Press the ADD USERS button to add them to the participant list.
To remove a participant, expand the selected user and press the REMOVE button. The user should be removed from the participant list.

Rooms are spaces you can create to section participants based on their physical location. Participants in the same room will not see each other’s avatars, whereas participants in different rooms will see each other’s avatars.
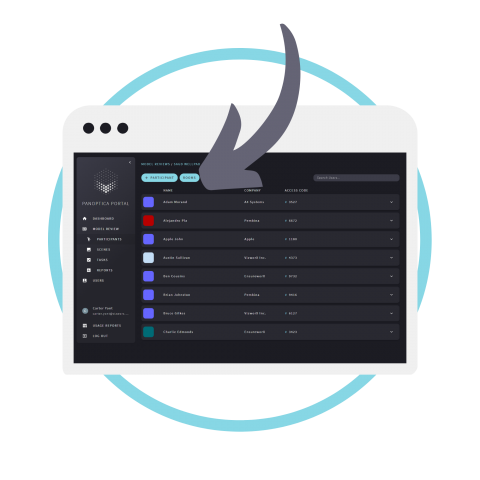
To manage rooms, press the ROOMS button on the Participants page.
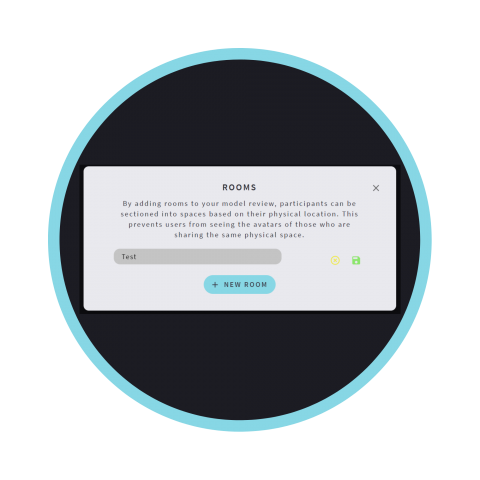
This will show the Rooms pop-up. Click the + NEW ROOM button to create a new room.
Enter a name for the room in the field, then click the SAVE button.
You can edit or archive rooms through the Rooms pop-up.

Tasks can be used as a way to keep participants in the model review accountable for their review responsibilities. You can add tasks and assign them based on a scene or to a participant.
To access the tasks page, press the TASKS tile.
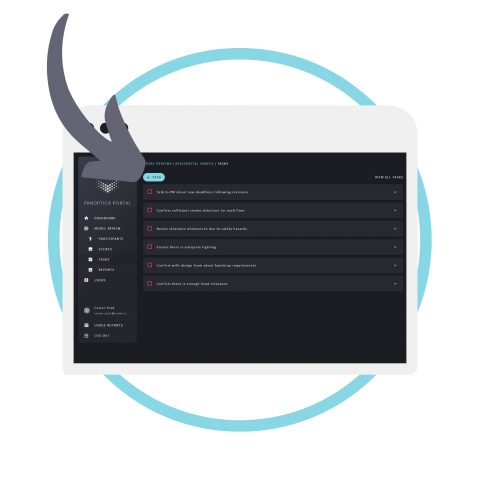
To add a new task, press the + TASK button, and fill out all the required fields. You have the option to assign a task to an existing scene or participant. Press the + CREATE button to save the new task.
To edit or archive a task, you can use the EDIT and ARCHIVE buttons.
Note: tasks can only be completed through your streaming device.


You can make the sign-in process easier for your participants by locking the model review on the Companion.
This means the next time the Companion is opened, they won’t be forced to sign in through Auth0. Instead, the Companion will show a list of participants and the user will enter their Access Code assigned to them from the Portal.
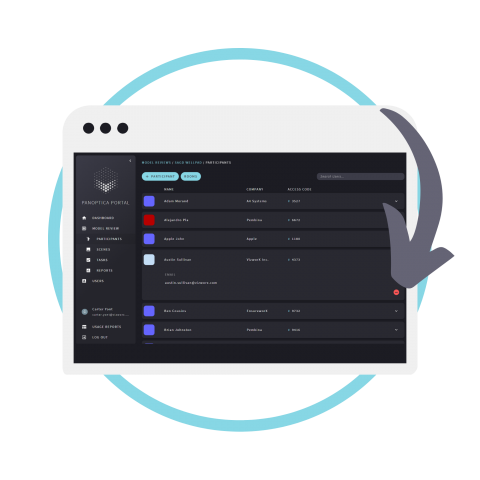
First, add all your participants to your model review. Make note of the access code beside the participant's name - this is the code the participant will use to gain access to their Companion and HoloLens.

Log onto the Companion device using your admin credentials.
Information on how to set up your HoloLens and Companion can be found in the “Getting Started - How to Start Running a Demo” section from the Panoptica Review - HoloLens and Companion Usage Guide.

Once you successfully join your model review, you can lock the device to the model review.
To lock a model review, press the SETTINGS button in the Dashboard and select the LOCK MODEL REVIEW button. Once you press CONFIRM, the device will be locked to the model review.
Once all your Companions are locked to the model review, they are ready to be used by participants.

When a participant opens the Companion, they can choose their name and enter their access code. Once they have gained access, they can pair their devices and start the model review.
Note: You can unlock model reviews by pressing LOGIN and sign in with your credentials.

To unlock a model review, press the SETTINGS button in the Dashboard and select the UNLOCK MODEL REVIEW button. Once you press CONFIRM, the device will no longer be locked to the model review.
Reports can be generated for each model review at any time. There are currently three kinds of reports:
You can access all reports in the model review by clicking the REPORTS tile. This will take you to the Reports page.
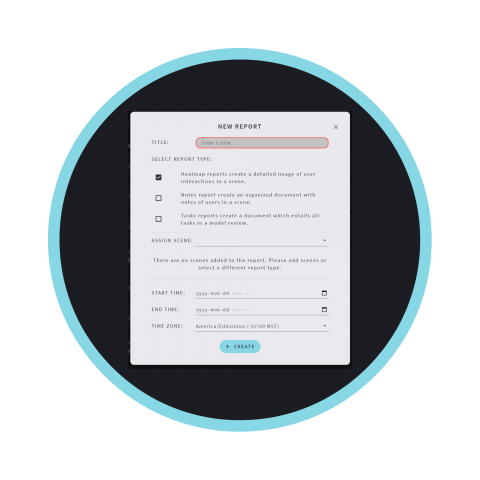
To generate a new report, press the GENERATE button to display the reports pop-up.
Select all the report types you wish to generate. If you select heatmaps and/or notes, you must select the associated scene and date range for the report. Once you are ready, select + CREATE to generate the report.

When the report is ready, the DOWNLOAD button should be displayed beside the report name.
To download the file, click the DOWNLOAD button to get a pdf of the report.
You can edit or archive the report by using the EDIT or ARCHIVE buttons.
Download a PDF copy of the information above. Our guides are tailored to your specific demo needs.